Top Mistakes Builders Make When Specifying Tiles
Avoid costly site failures! A builder's guide to crucial tile specification mistakes, from PEI ratings and water absorption to batch mismatches and movement joints.

- Mistake 1: Specifying by Look Alone, Not by Water Absorption Group
- Mistake 2: Treating PEI Rating as Optional Paperwork
- Mistake 3: Confusing Wall Tile Specifications with Floor Tile Loads
- Mistake 4: Skipping Slip Resistance Ratings for Wet and Outdoor Zones
- Mistake 5: Leaving Out Movement Joints in Large Tiled Fields
- Mistake 6: Ignoring Batch and Calibre Variation on Bulk Orders
- Mistake 7: Under-Specifying Thickness for Load-Bearing Areas
- Mistake 8: Leaving Grout and Adhesive Choice to the Contractor
- Mistake 9: Not Budgeting Wastage or Batch Discontinuation Risk in the BOQ
- Mistake 10: Approving Tile Selection Without a Written Specification
- A Quick Reference for What Every Tile Specification Should State
- Getting the Specification Right the First Time
Most site tile failures stem from specification gaps rather than poor installation. Builders can avoid costly building defects by explicitly detailing key technical requirements in writing, including water absorption groups, PEI ratings, slip resistance, tile thickness, batch consistency, correct adhesives, and movement joints before ordering.
Most tile failures on a construction site are not installation failures. A crew that lays tile every day rarely gets the actual laying wrong. What goes wrong far more often is the specification that reached them in the first place, a tile chosen for its finish and price without the technical checks that decide whether it survives the space it is going into.
The gap usually shows up months after handover, as cracked tiles over a slab joint, a slippery entrance lobby, or a batch mismatch that a client notices immediately and a contractor cannot fully explain. Almost all of these trace back to one of the same ten specification mistakes, repeated across projects of every size.
Mistake 1: Specifying by Look Alone, Not by Water Absorption Group
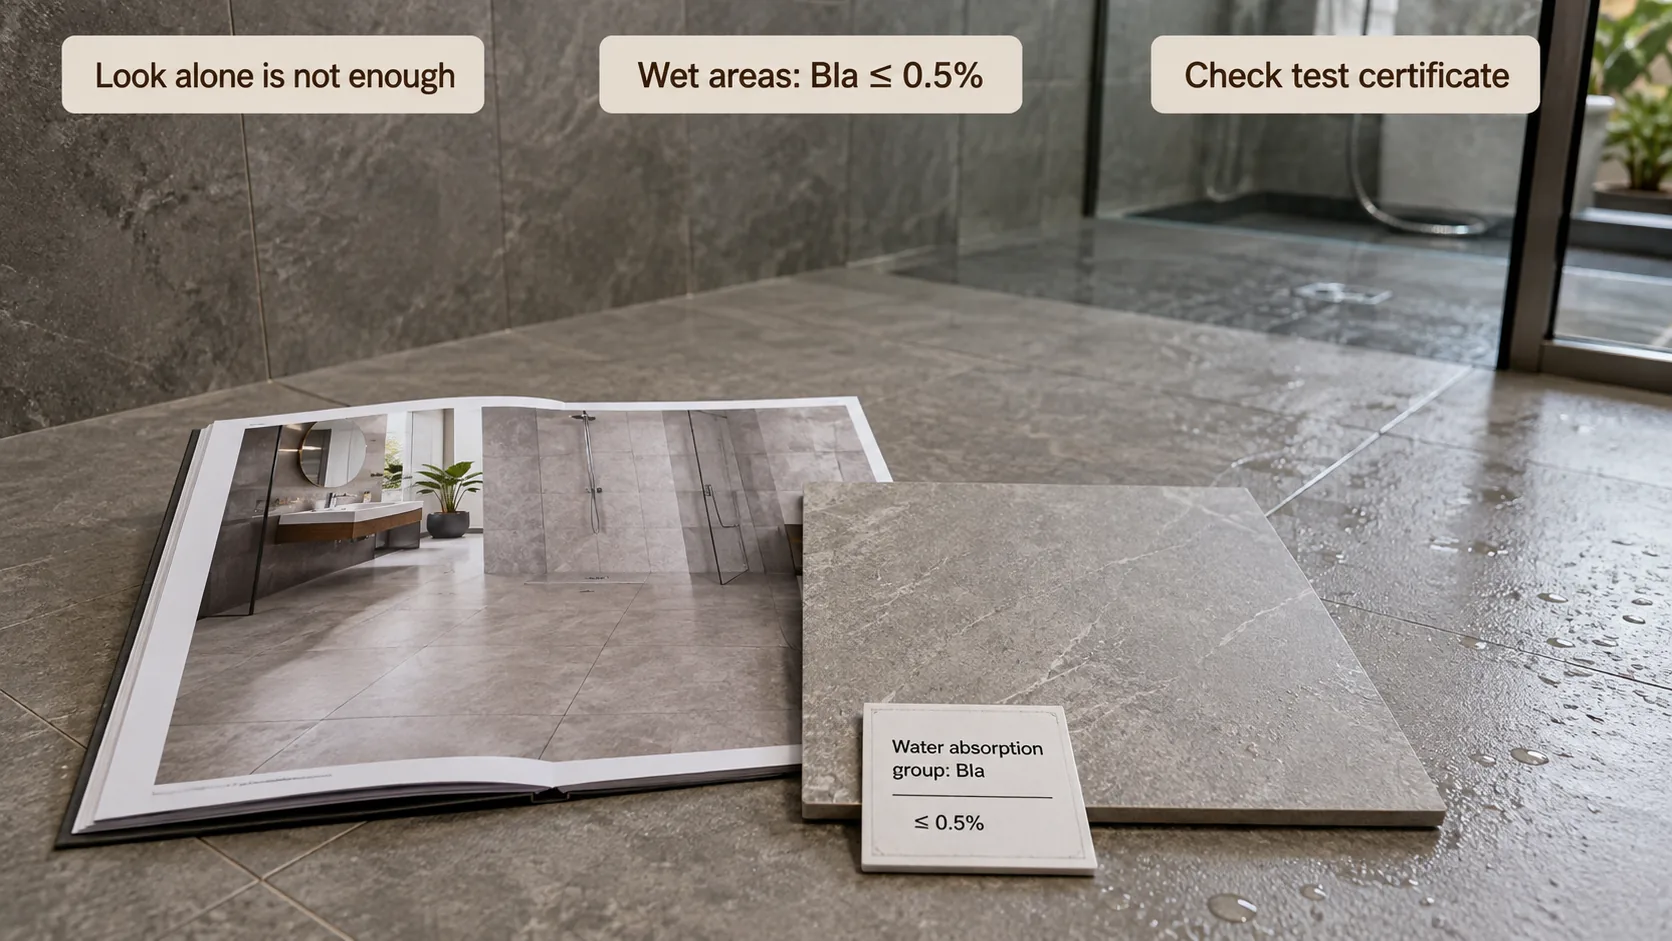
A tile catalogue photo tells you nothing about how the tile performs once water is involved. Every ceramic and vitrified tile falls into a water absorption group, from Group BIa at 0.5% or lower up to higher-absorption groups suited only to dry interior walls.
A specification that simply says vitrified floor tile, 600x600mm leaves the door open for a contractor to supply whatever fits that description at the lowest price, including a tile with far higher absorption than the space needs. Naming the water absorption group explicitly, and asking for it on the supplier's test certificate, closes that gap.
Mistake 2: Treating PEI Rating as Optional Paperwork
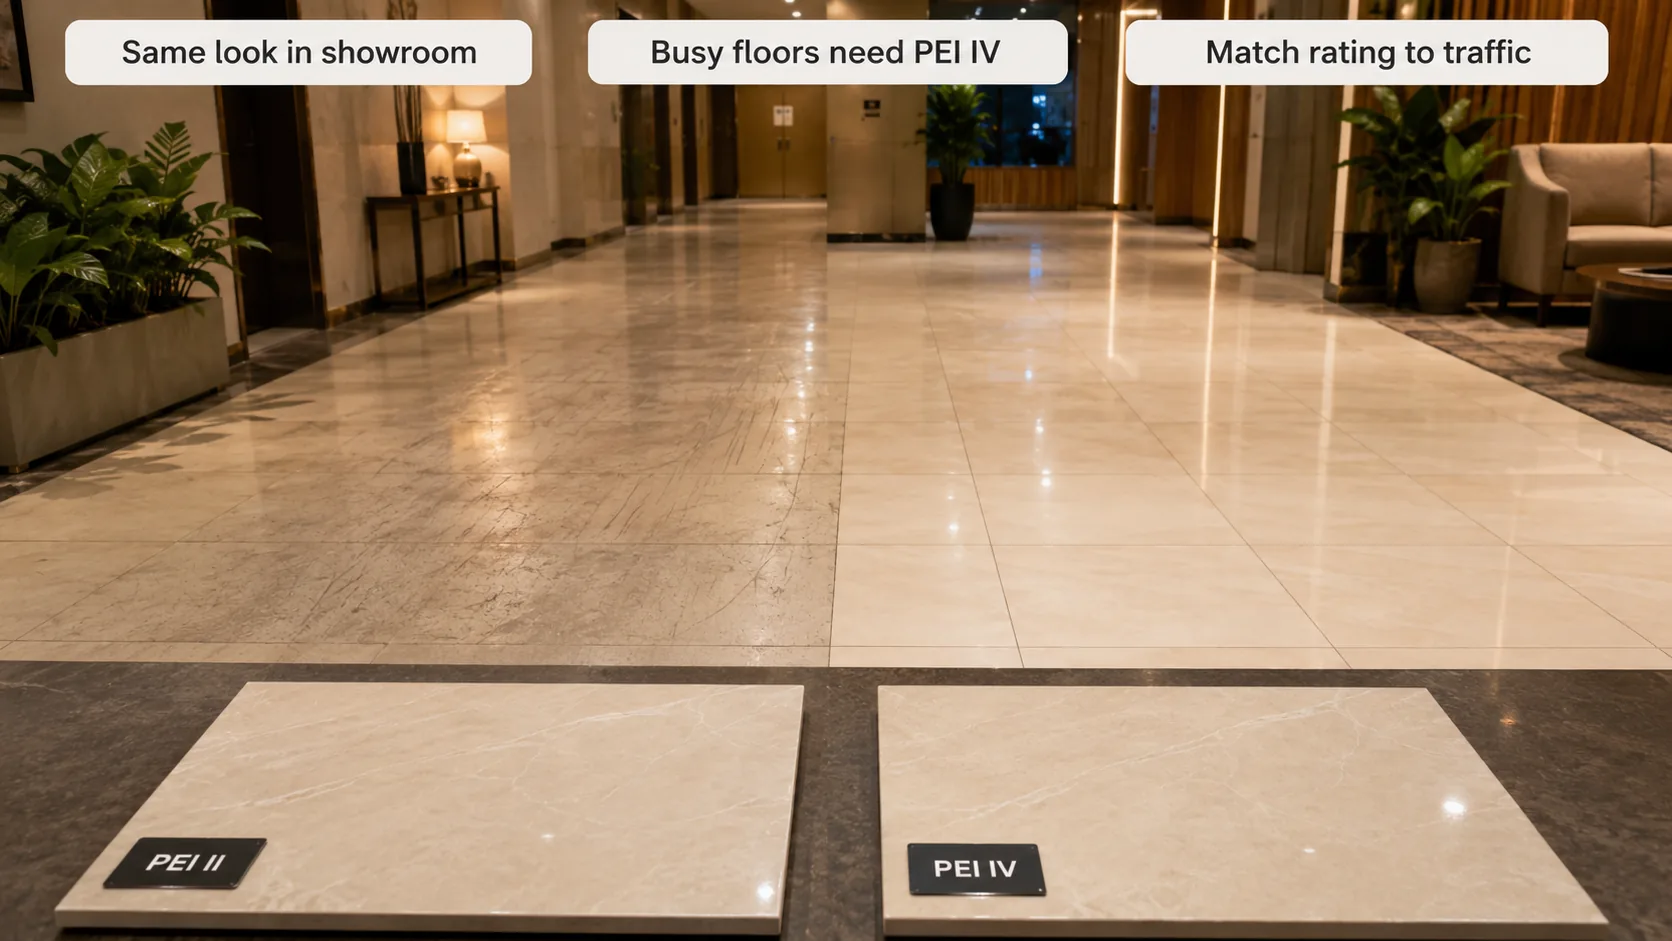
PEI rating measures surface abrasion resistance, essentially how well a tile's glaze holds up against foot traffic over years of use. It has nothing to do with strength or water resistance, which is exactly why it gets skipped so often, it does not show up as an obvious defect on day one.
A PEI Class II tile can look identical to a PEI Class IV tile in a showroom sample. Used on a busy lobby or corridor floor, the lower-rated tile visibly dulls and scratches within a couple of years while the higher-rated one does not. Match PEI rating to actual foot traffic, not to whichever tile the client liked in the showroom.
Mistake 3: Confusing Wall Tile Specifications with Floor Tile Loads
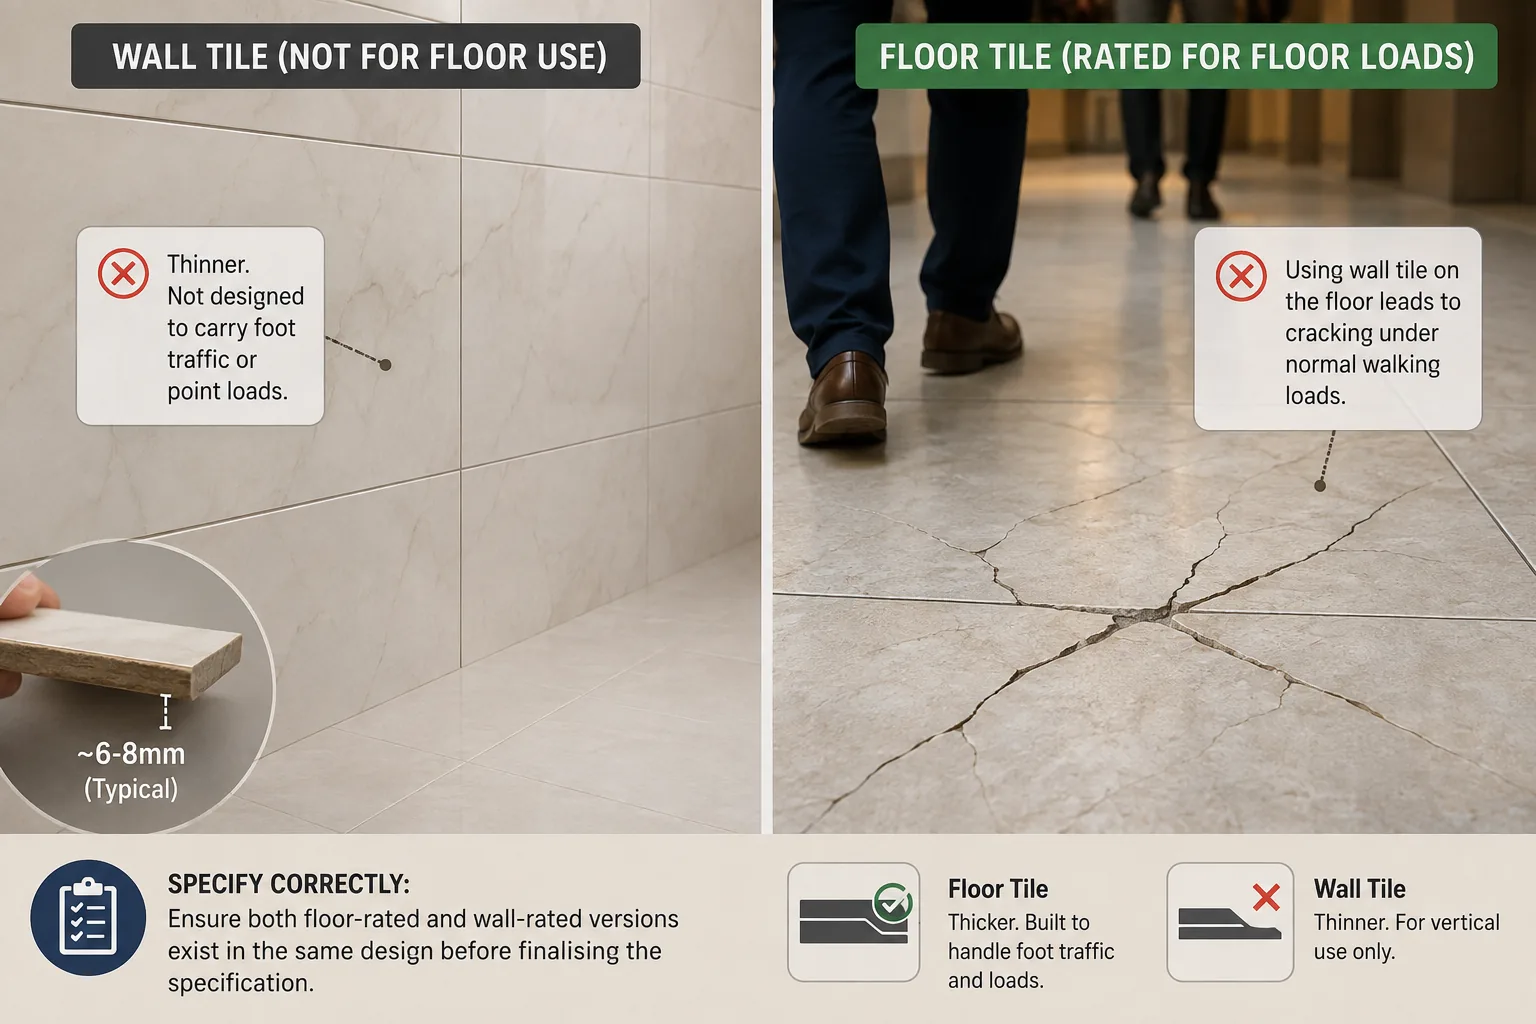
Wall tiles are manufactured thinner and are not rated to carry foot traffic or point loads. This sounds obvious stated directly, yet it remains one of the most common site substitutions, usually made under time pressure when a matching floor tile from the same range is out of stock, and the wall variant looks close enough.
The result is cracking under normal walking load within months. If a design calls for a unified look across wall and floor, confirm both a floor-rated and wall-rated version exist in that exact design before finalising the specification, not after the wall tile has already been ordered.
From The Marketplace
Popular tiles right now


Mistake 4: Skipping Slip Resistance Ratings for Wet and Outdoor Zones
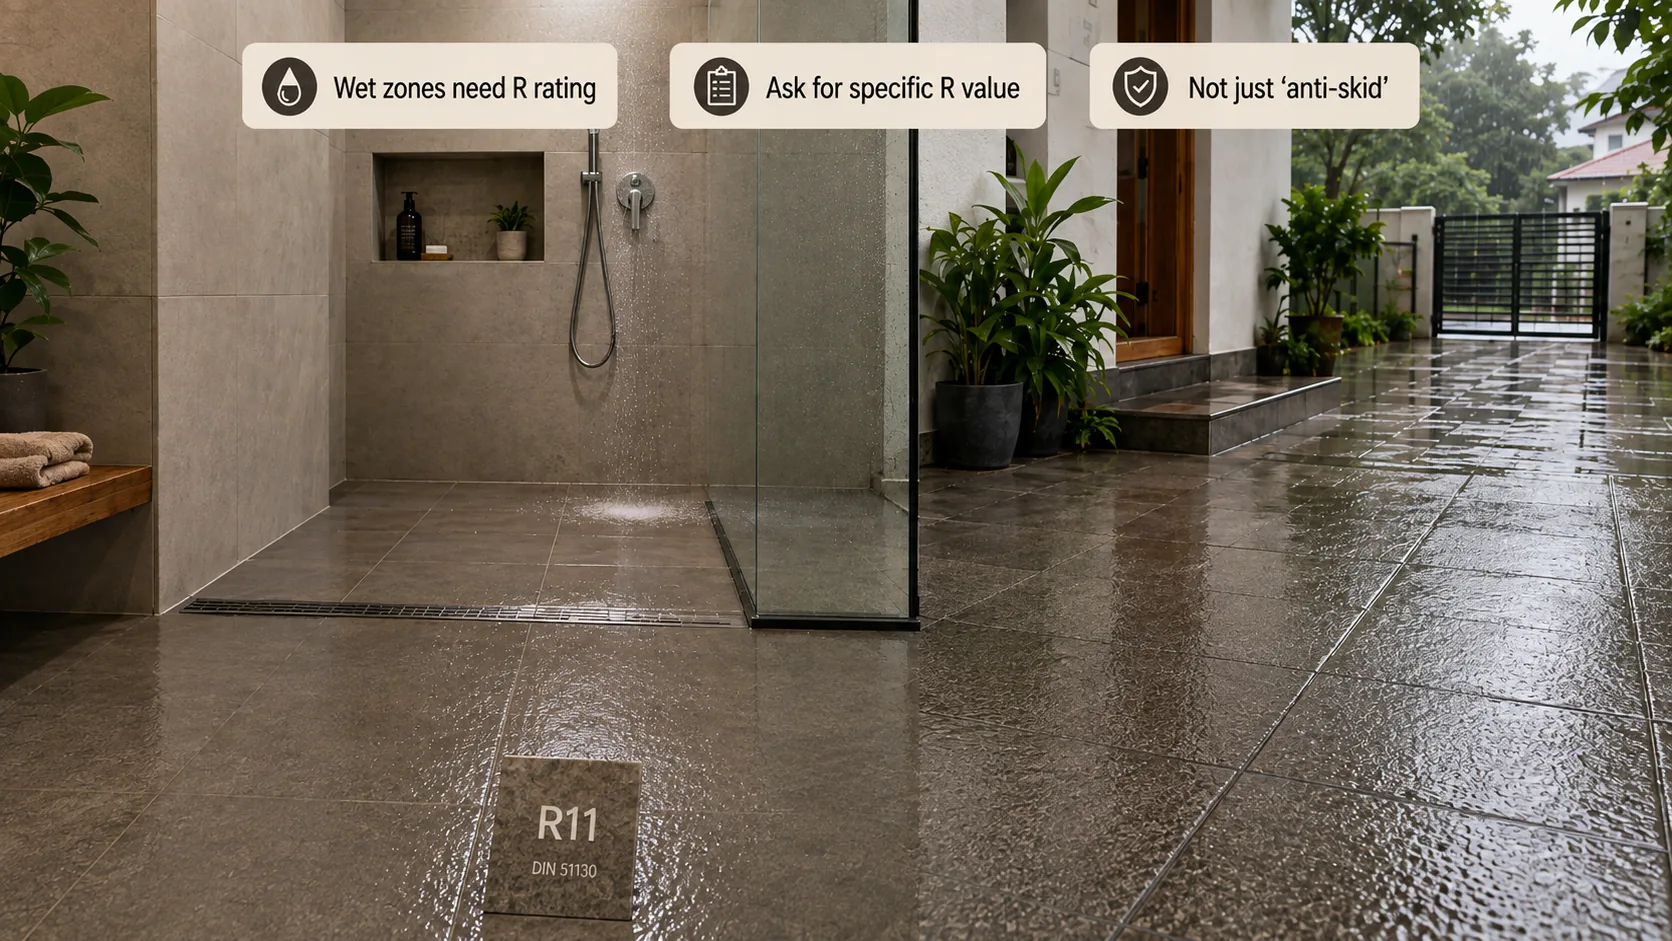
Slip resistance is tested and rated separately from every other tile property, commonly expressed as an R rating from a wet ramp test. Bathrooms, pool decks, entrance lobbies exposed to rain, and any sloped or outdoor surface all need a minimum R rating specified in writing, not left to the tile's general description as anti-skid.
Anti-skid printed on a box has no fixed technical meaning on its own. Always ask for the specific R value and the test standard it was measured against before approving a tile for a wet or outdoor zone.
Mistake 5: Leaving Out Movement Joints in Large Tiled Fields
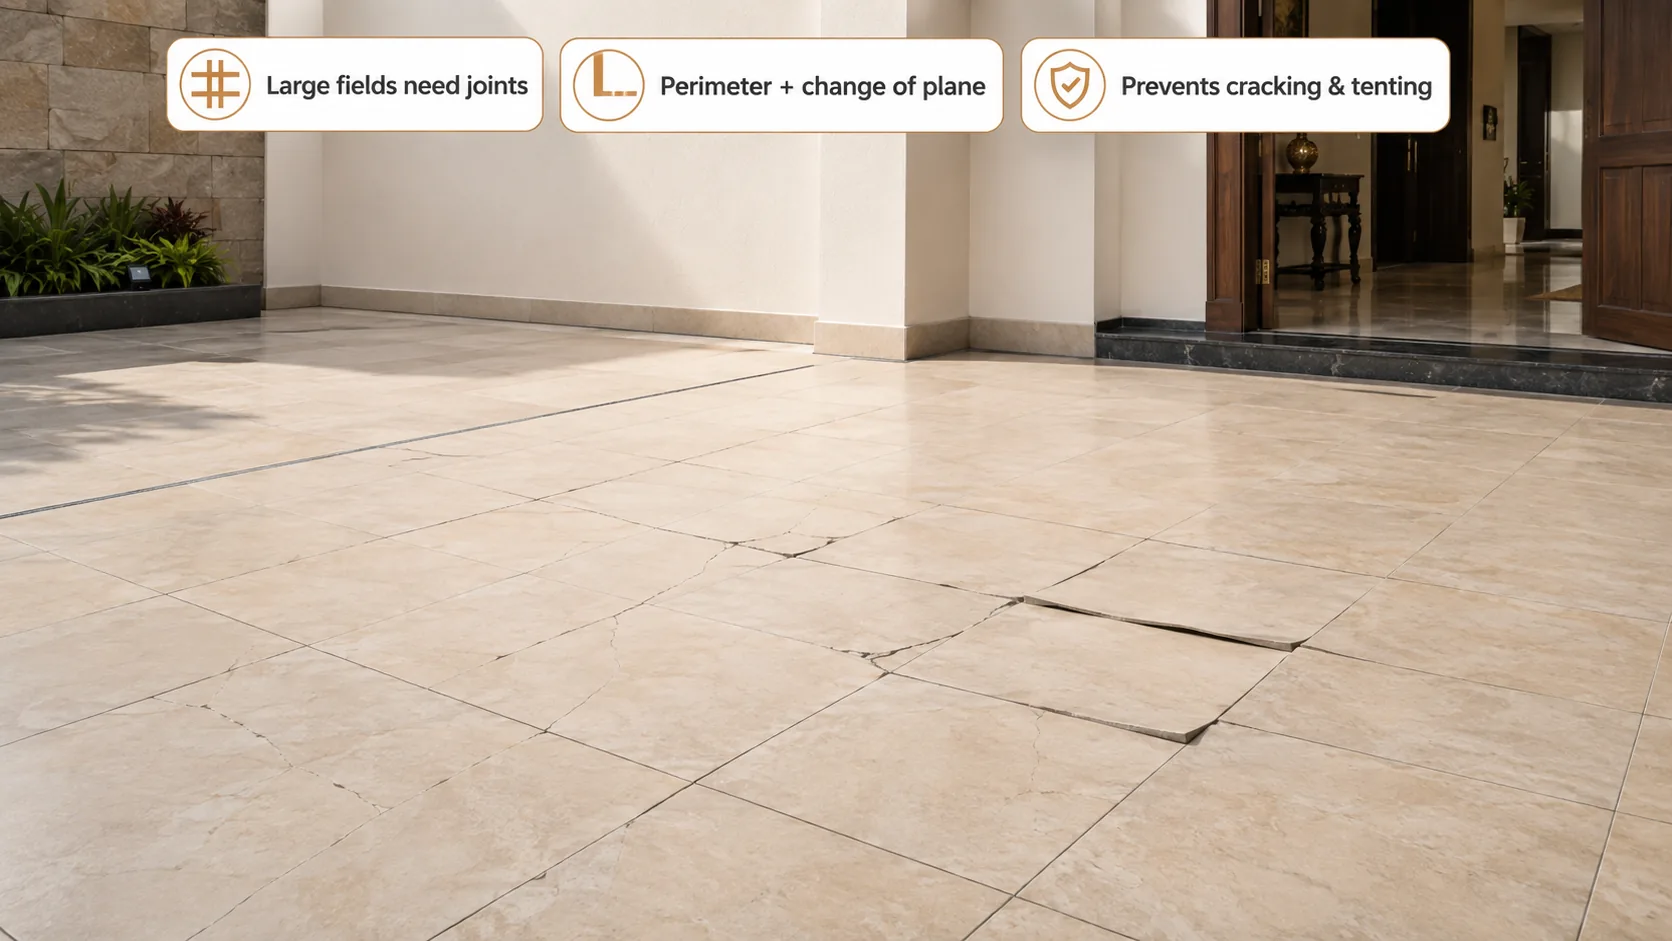
Tile assemblies are rigid, but the slab beneath them expands and contracts with temperature and moisture. Without movement joints at regular intervals, especially across large uninterrupted floor fields exposed to direct sun, that stress has nowhere to go and transfers straight into the tile and grout.
This shows up as cracking, or in worse cases, as tiles lifting off the substrate entirely in a phenomenon installers call tenting. Movement joints should be placed at the perimeter, at every change of plane, directly over any existing joint in the substrate, and at set intervals across large open fields, not added as an afterthought once cracks appear.
Mistake 6: Ignoring Batch and Calibre Variation on Bulk Orders
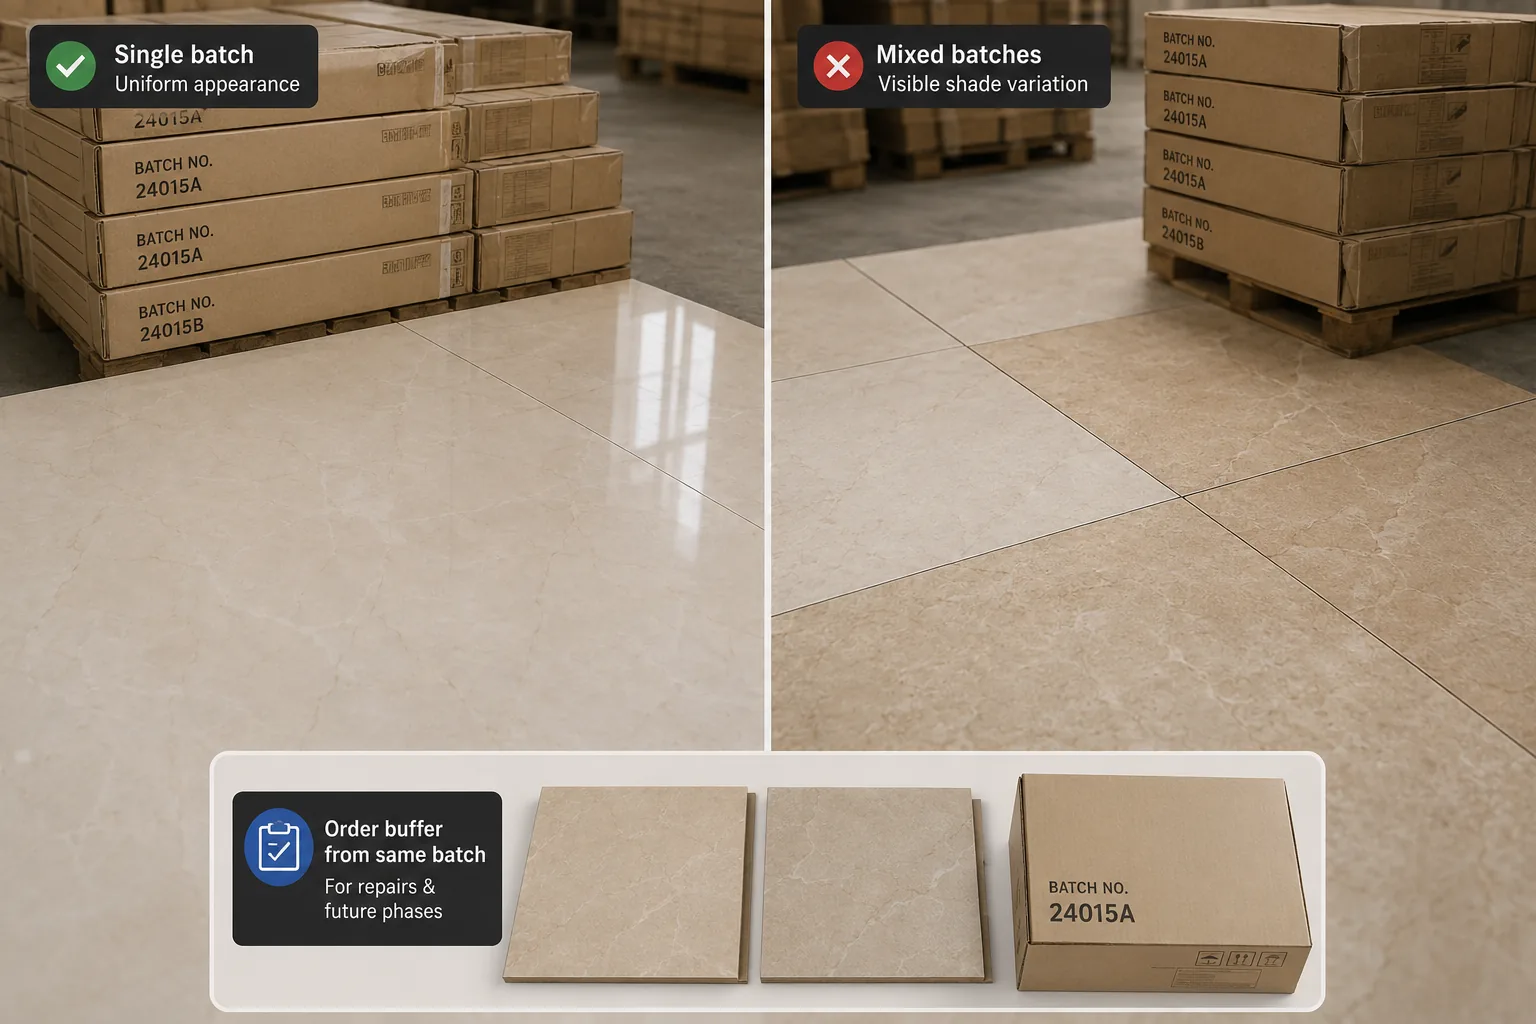
Every production run of tile carries some variation in shade and exact size, referred to as batch and calibre. A specification that does not require single-batch supply for a continuous area invites visible shade mismatches once tiles from two different runs end up side by side.
This risk grows with order size and timeline. A project phased over several months is far more likely to need a repeat order after the original batch has sold out, so it is worth ordering a small buffer stock upfront specifically to cover future repairs and phase two work from the same batch.
Mistake 7: Under-Specifying Thickness for Load-Bearing Areas
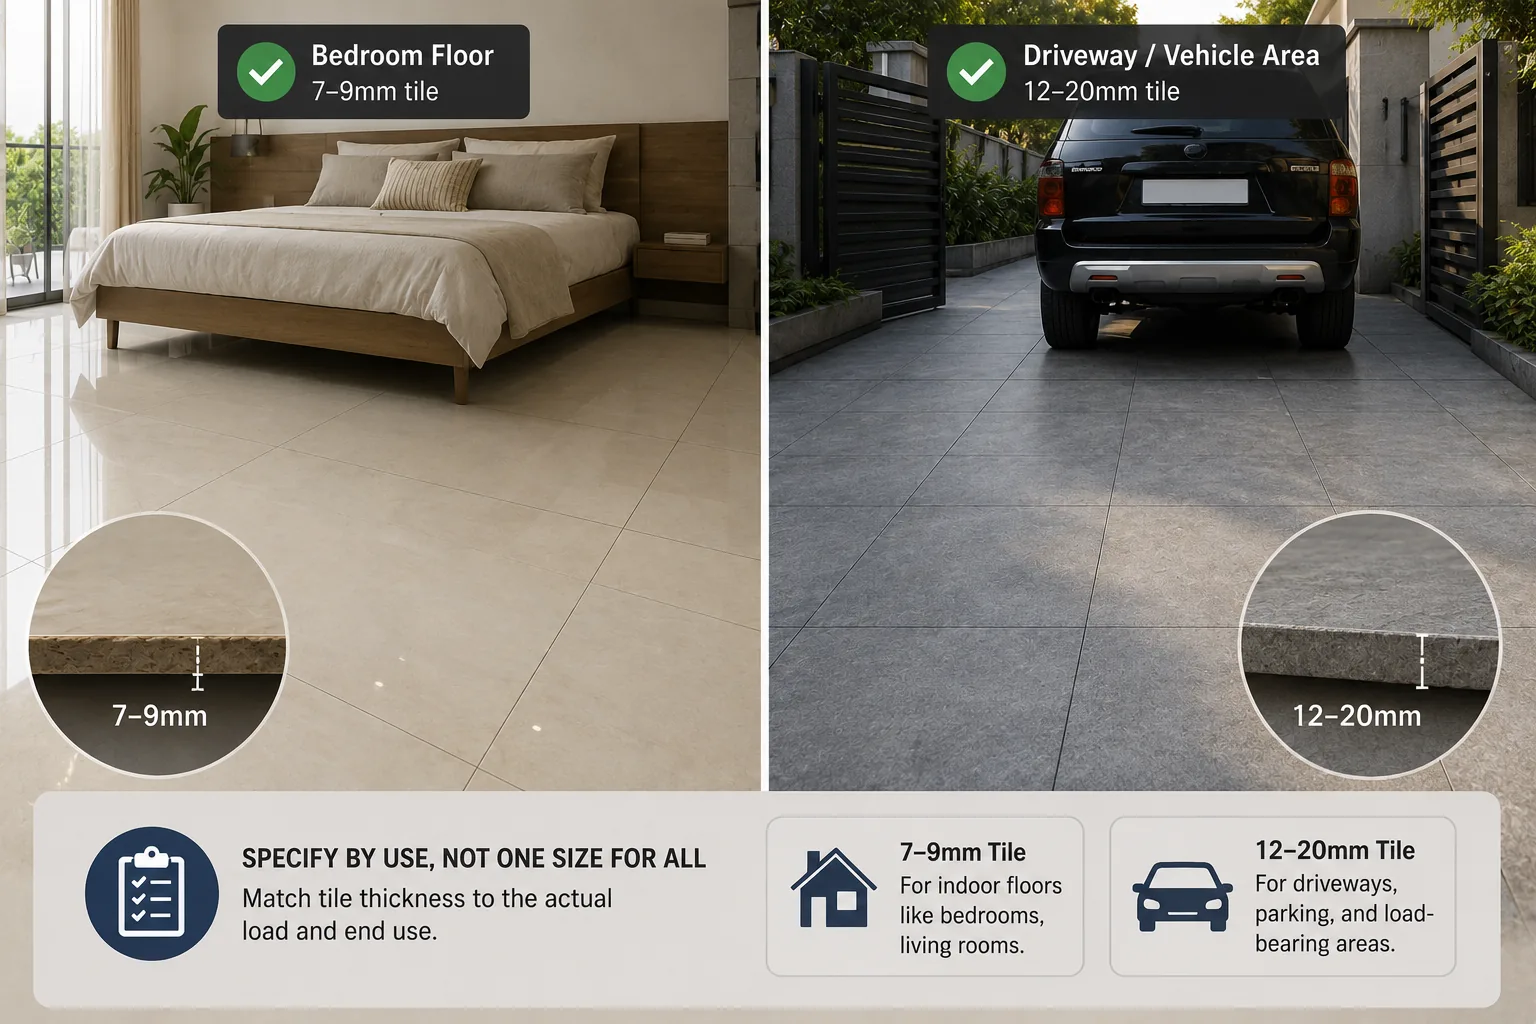
Thickness requirements differ sharply by end use, and a specification written for one area sometimes gets copied across an entire project without adjustment. A 7 to 9mm tile suited to a bedroom floor is not suited to a driveway or a loading area that regularly carries vehicle weight.
Vehicle-accessible areas typically need tiles in the 12 to 20mm range depending on expected load. Confirm thickness against actual use, not against whatever thickness happened to be in stock for the rest of the project.
Mistake 8: Leaving Grout and Adhesive Choice to the Contractor
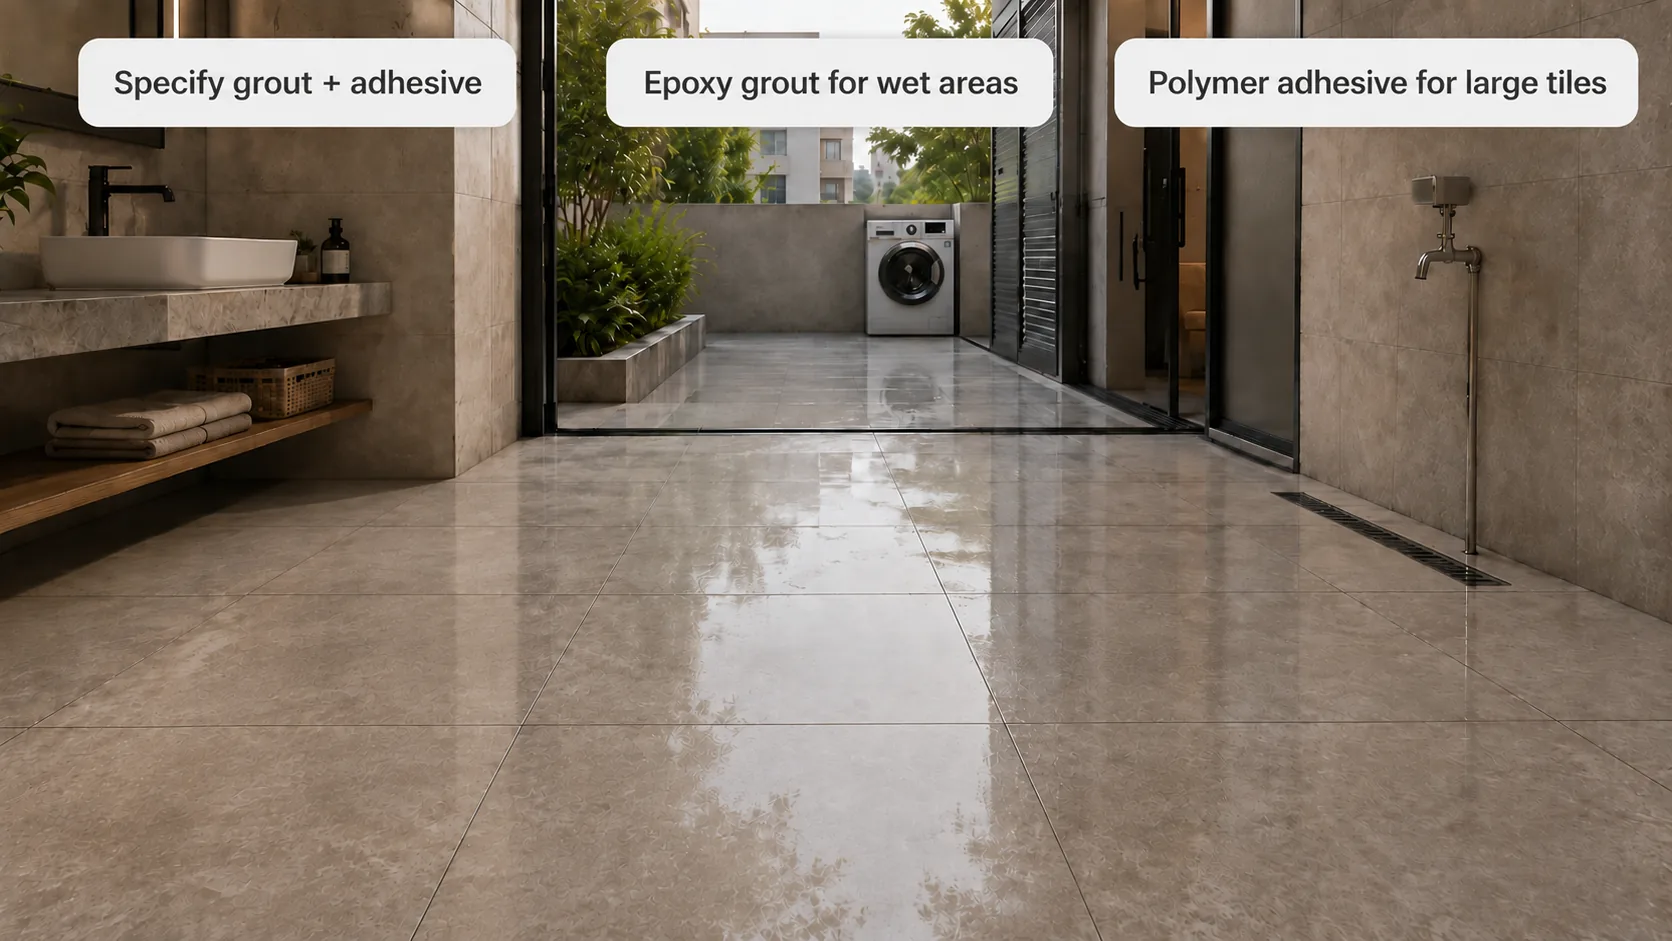
Grout and adhesive are frequently treated as minor line items decided on site rather than specified upfront, yet they directly affect how well the tile performs. Standard cement grout stains and supports algae growth in wet or outdoor areas where epoxy grout would resist both.
Similarly, large format tiles need a polymer-modified adhesive with full coverage, not a standard thin-set intended for smaller tiles, or the tile risks hollow spots that crack under point load later. Specify both explicitly rather than leaving them to whatever the contractor has on hand.
Mistake 9: Not Budgeting Wastage or Batch Discontinuation Risk in the BOQ
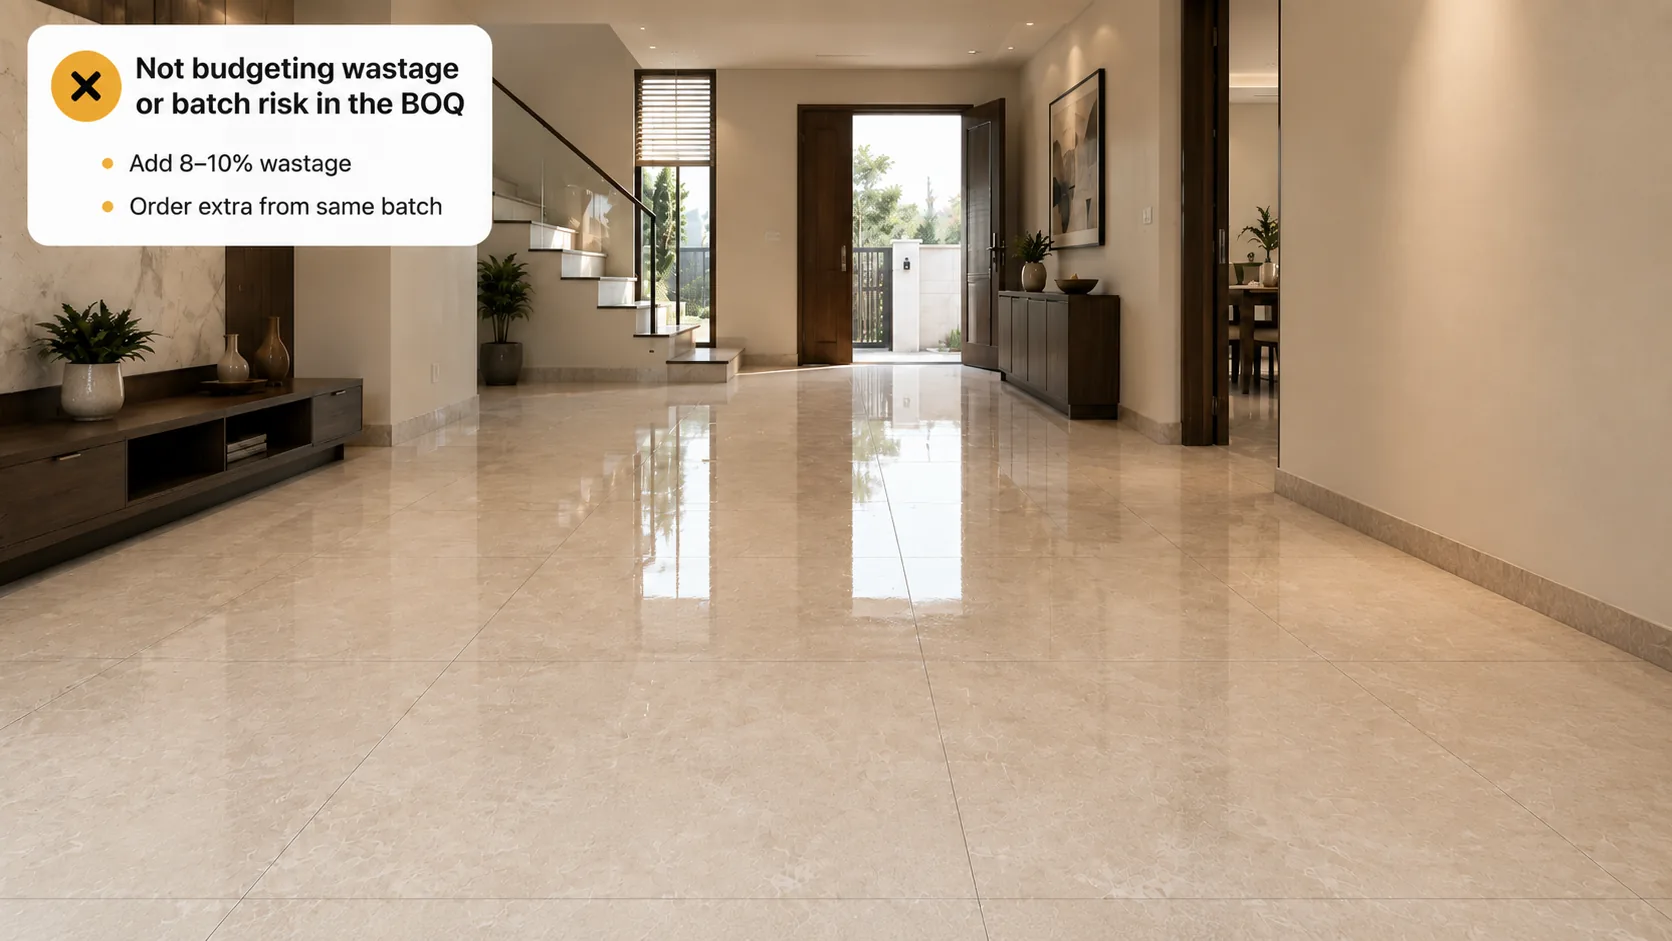
A Bill of Quantities calculated on exact area coverage, with no wastage allowance, routinely runs short mid-project once cutting losses around corners, doors, and pattern layouts are accounted for. A standard 8 to 10% wastage margin should be built into every tile line item from the outset.
A second, less obvious risk is batch discontinuation. If a project is phased or likely to need future repairs, ordering enough surplus stock at the outset, and storing it properly, is far cheaper than trying to source a matching batch a year later once the original run is no longer in production.
Mistake 10: Approving Tile Selection Without a Written Specification
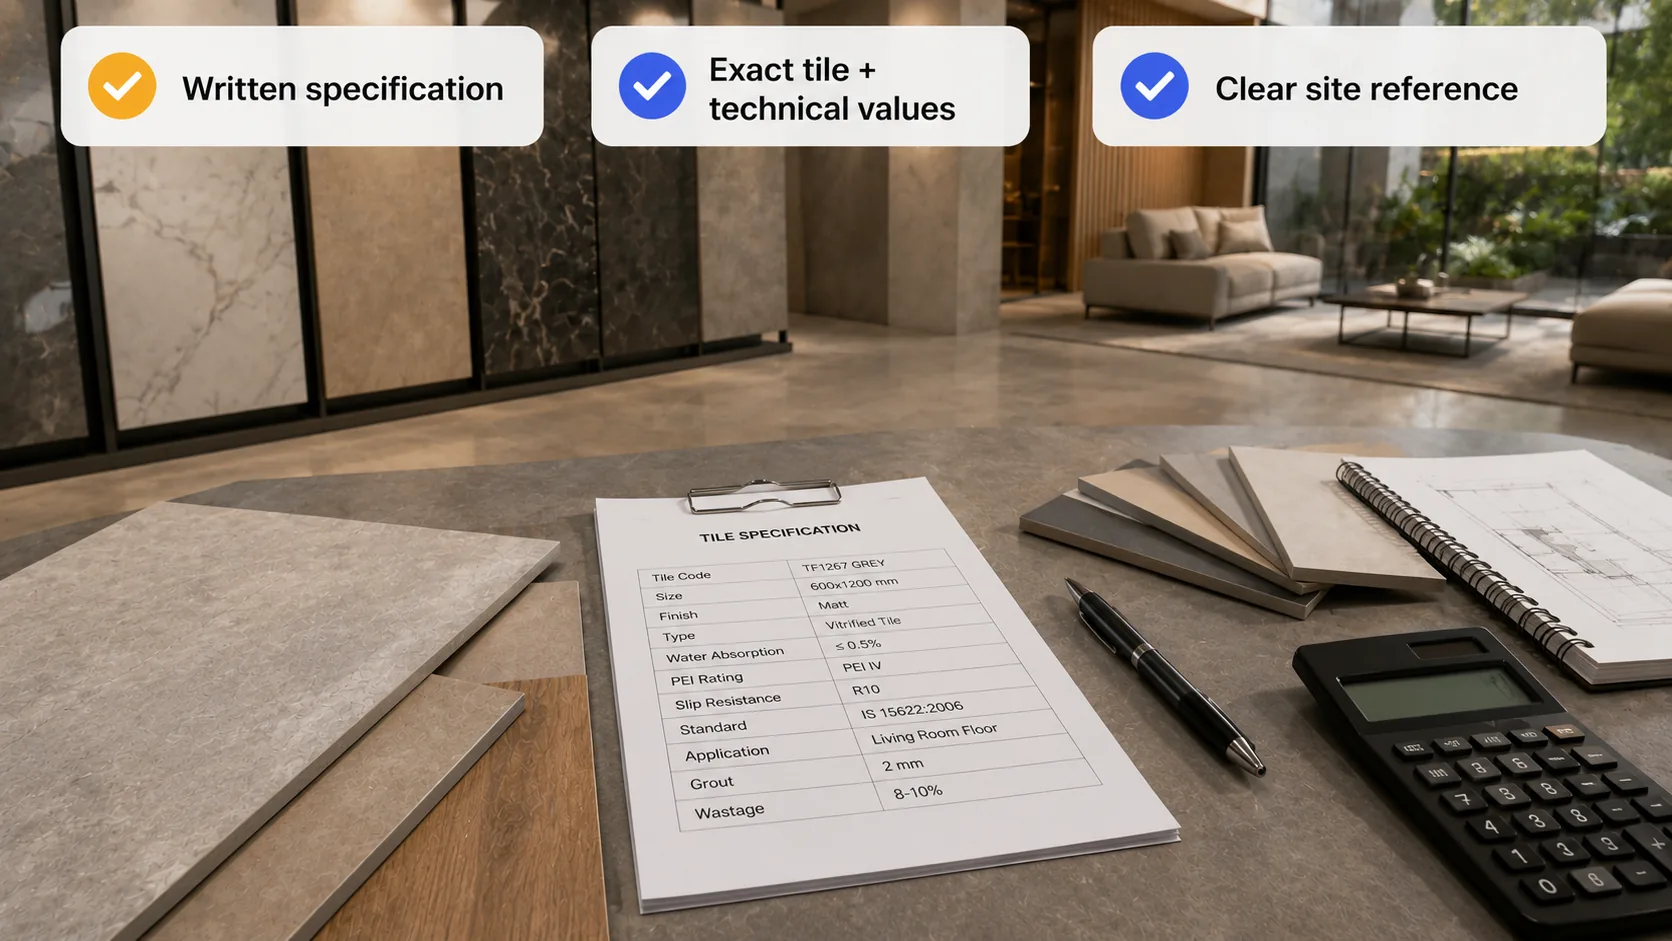
The single mistake that makes all the others more likely is skipping a written specification document altogether. A verbal agreement on a tile choice, or an approval based on a single showroom sample, leaves no enforceable reference point if the wrong batch, wrong PEI class, or wrong water absorption group shows up on site.
A written specification does not need to be long. It needs to name the exact tile code, the standard it complies with, and the technical values that matter for that specific location, so that any dispute later has something concrete to check against.
A Quick Reference for What Every Tile Specification Should State
Regardless of project size, a tile specification line item is only enforceable if it states the following, rather than describing the tile by appearance alone.
| Specification Field | Why It Matters |
| Water absorption group (per IS 15622 or equivalent) | Determines suitability for wet, outdoor, or dry interior use |
| PEI abrasion class | Determines durability against foot traffic over years, not day one |
| Slip resistance (R rating or equivalent) | Required for wet, sloped, and outdoor zones, not assumed from finish name |
| Thickness in mm | Must match load, vehicle or foot traffic, not copied across unrelated areas |
| Batch number for the full order | Prevents visible shade mismatch across a continuous area |
| Movement joint plan | Prevents cracking and tenting across large or sun-exposed fields |
| Adhesive and grout type | Affects bond strength, staining resistance, and long-term maintenance |
Getting the Specification Right the First Time
A tile specification is a technical document, not a design mood board. Treating it that way, with named standards, exact values, and a written record, is what actually prevents the failures that show up months after a project is handed over.
If you are sourcing tiles for a project and need supplier documentation on water absorption, PEI rating, or IS compliance, TilesFinders connects builders and contractors with verified dealers on tilesfinders.com who can provide these certificates upfront.
FAQs
The most common cause is a specification gap rather than poor installation, typically a tile chosen without checking its water absorption group, PEI rating, or suitability for the actual load and traffic in that space.
At minimum, the exact tile code, water absorption group, PEI abrasion class, slip resistance rating, thickness, batch requirement, and the movement joint and adhesive plan for that specific area.
Cracking is often caused by missing movement joints across large or sun-exposed areas, or by using a tile with insufficient thickness for the actual load, both of which are specification issues rather than installation errors.
No. Wall tiles are manufactured thinner and are not rated for foot traffic or point loads, and using them on a floor typically leads to cracking within months even under normal residential use.
A standard allowance of 8 to 10% covers most cutting losses around corners, doors, and pattern layouts, and this should be built into the BOQ from the outset rather than added after a shortage appears.
This depends on slope and exposure, but as a general guide, R10 suits flat covered areas, while R11 to R12 is safer for sloped or fully exposed wet and outdoor zones. Always confirm the exact value against the project's specific conditions.


See our tile guides first
Set TilesFinders as a preferred source and our buying guides surface ahead of the rest for you.
Add as preferred sourceTakes one tap. Nothing to install.
What Readers Say
I was about to redo my parking area with the wrong tile size until I read this. The layout comparisons saved me from a costly mistake.
We reference TilesFinders guides while briefing clients on material selection. The size and pattern breakdowns are accurate and easy to explain visually.
On site, I get asked about grout spacing all the time. This article gave me a solid reference I now share with my team before every job.
Finally a guide that doesn't just push generic advice. The oil stain removal steps actually worked on our clubhouse driveway tiles.
I run a small construction firm and now send this link to clients directly when they ask about entrance tile sizing. Saves me an hour of explaining.
Good practical detail, though I wish there were more examples for compact apartment entrances specifically, not just villas.
My mother-in-law wanted marble, I wanted vitrified. This blog gave us the neutral comparison we needed to actually decide together.
Detailed without being overwhelming. I appreciated that it covered both cost and maintenance, not just the aesthetics.
Used the algae and hard water removal tips on our terrace tiles after the monsoon. Worked better than what our regular cleaner was doing.
As someone who sources tiles for multiple builder projects, I find these comparisons genuinely useful for vendor conversations, not just consumer content.
Recommended this to a client who kept second-guessing the entrance design. The small vs large layout section settled the debate instantly.
Straightforward and honest, no unnecessary jargon. Would like to see a similar breakdown for outdoor pool-deck tiles next.
We've bookmarked several TilesFinders guides for our design handbook. Reliable source when clients want data, not just opinions.
Two paths, one marketplace.
Get free quotes from verified suppliers.
Share your room, budget, and style. Suppliers in Morbi respond within hours.
Get Free QuotesList your business, reach real buyers.
Put your showroom in front of homeowners searching for tiles right now.
List Your BusinessMore Blogs
See all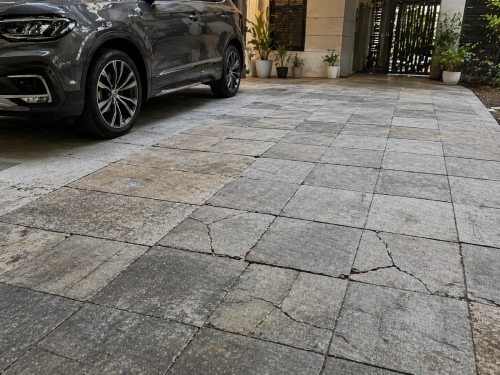
How to Choose Parking Tiles That Don’t Crack or Wear Out
Stop your parking tiles from cracking. Learn why a solid base, 10–16mm thickness, and vitrified a...
Read More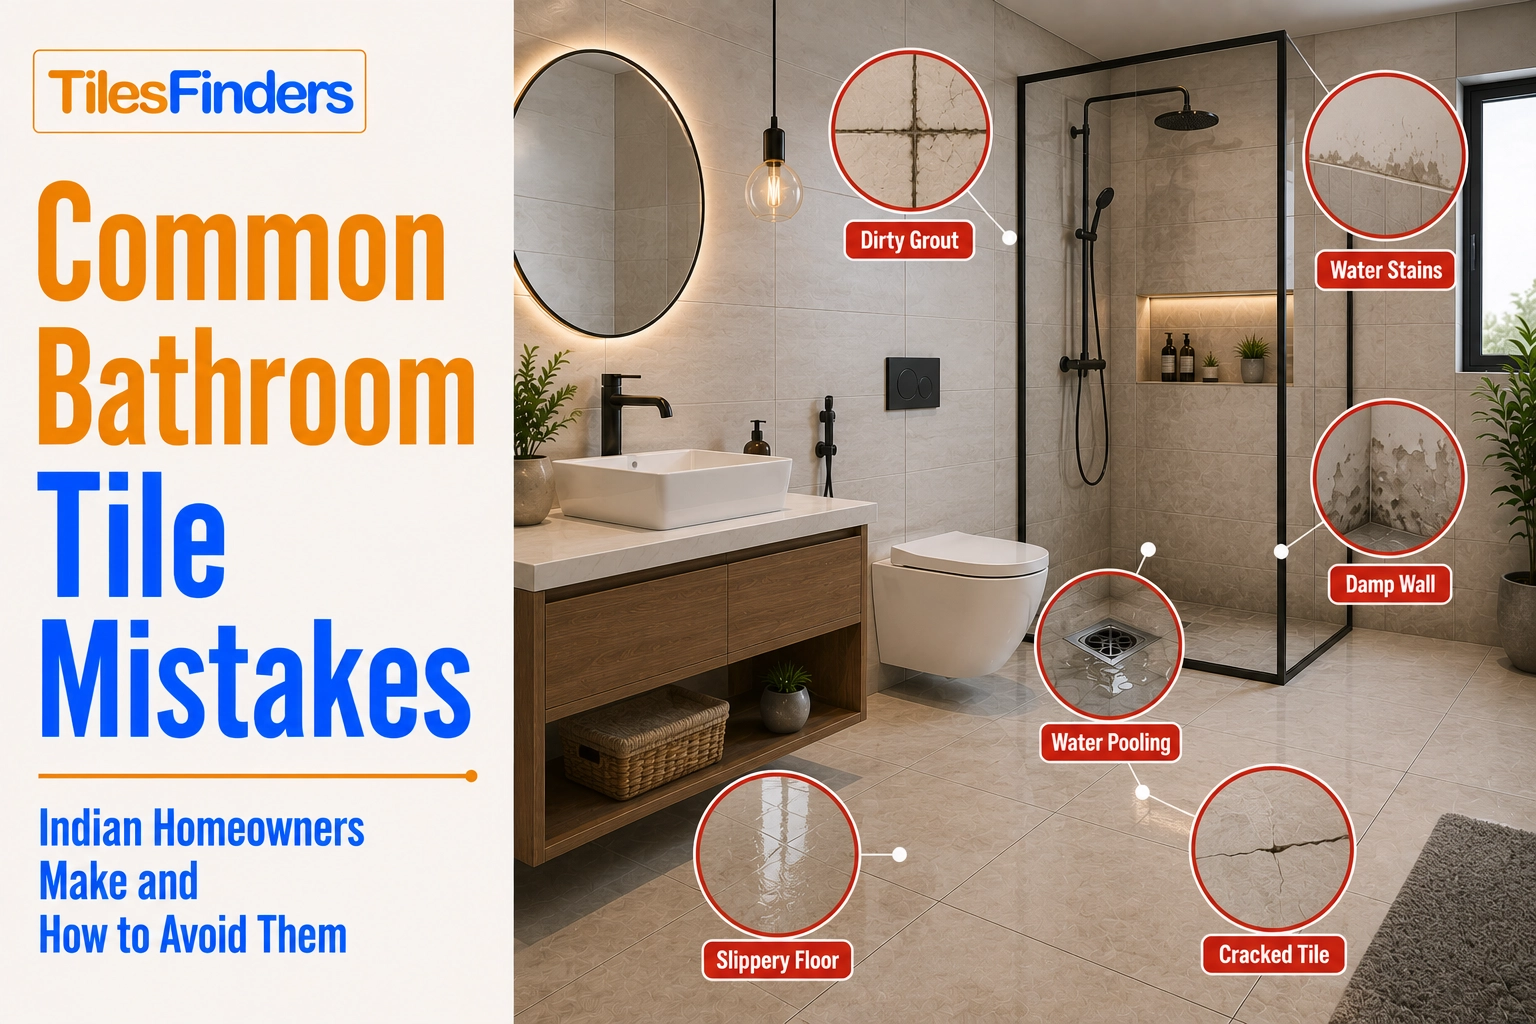
Common Bathroom Tile Mistakes Indian Homeowners Make and How to Avoid Them
Learn the most common bathroom tile mistakes Indian homeowners make, from slippery floors and wat...
Read More
How to Calculate Tile Quantity and Wastage for Terraces and Balconies
Learn how to calculate tile quantity and wastage for terraces and balconies using layout formulas...
Read More