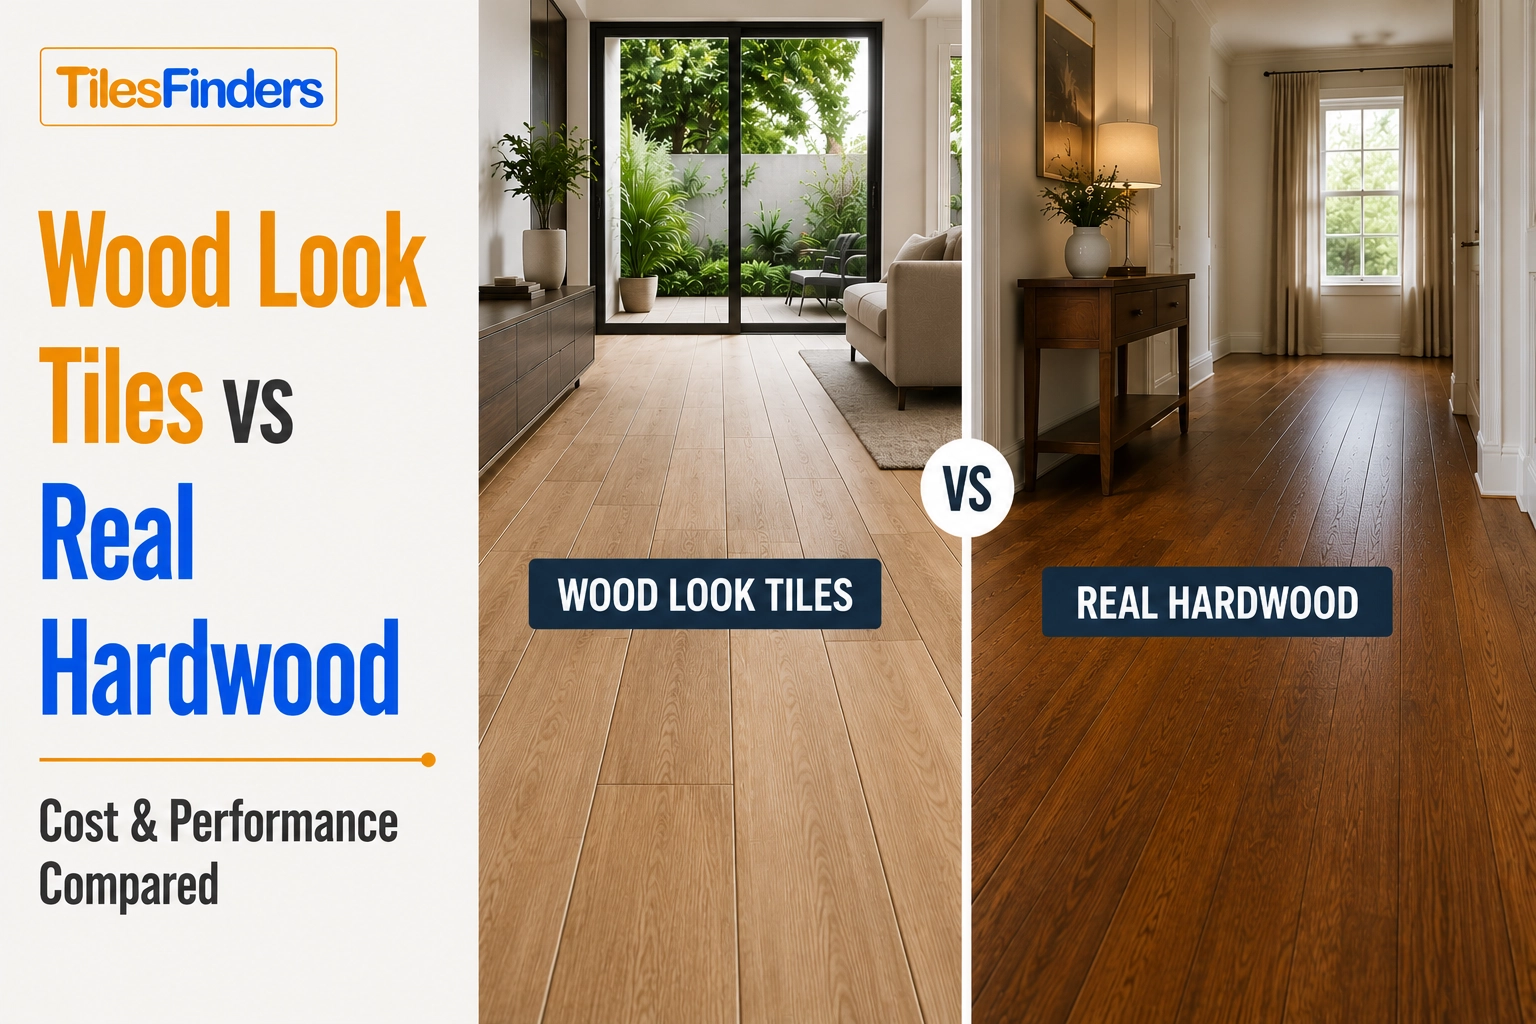

Tile vs Wooden Flooring for the Living Room: Pros and Cons
Wood vs. Tile: Which fits your living room? Compare durability, comfort, and maintenance to make ...
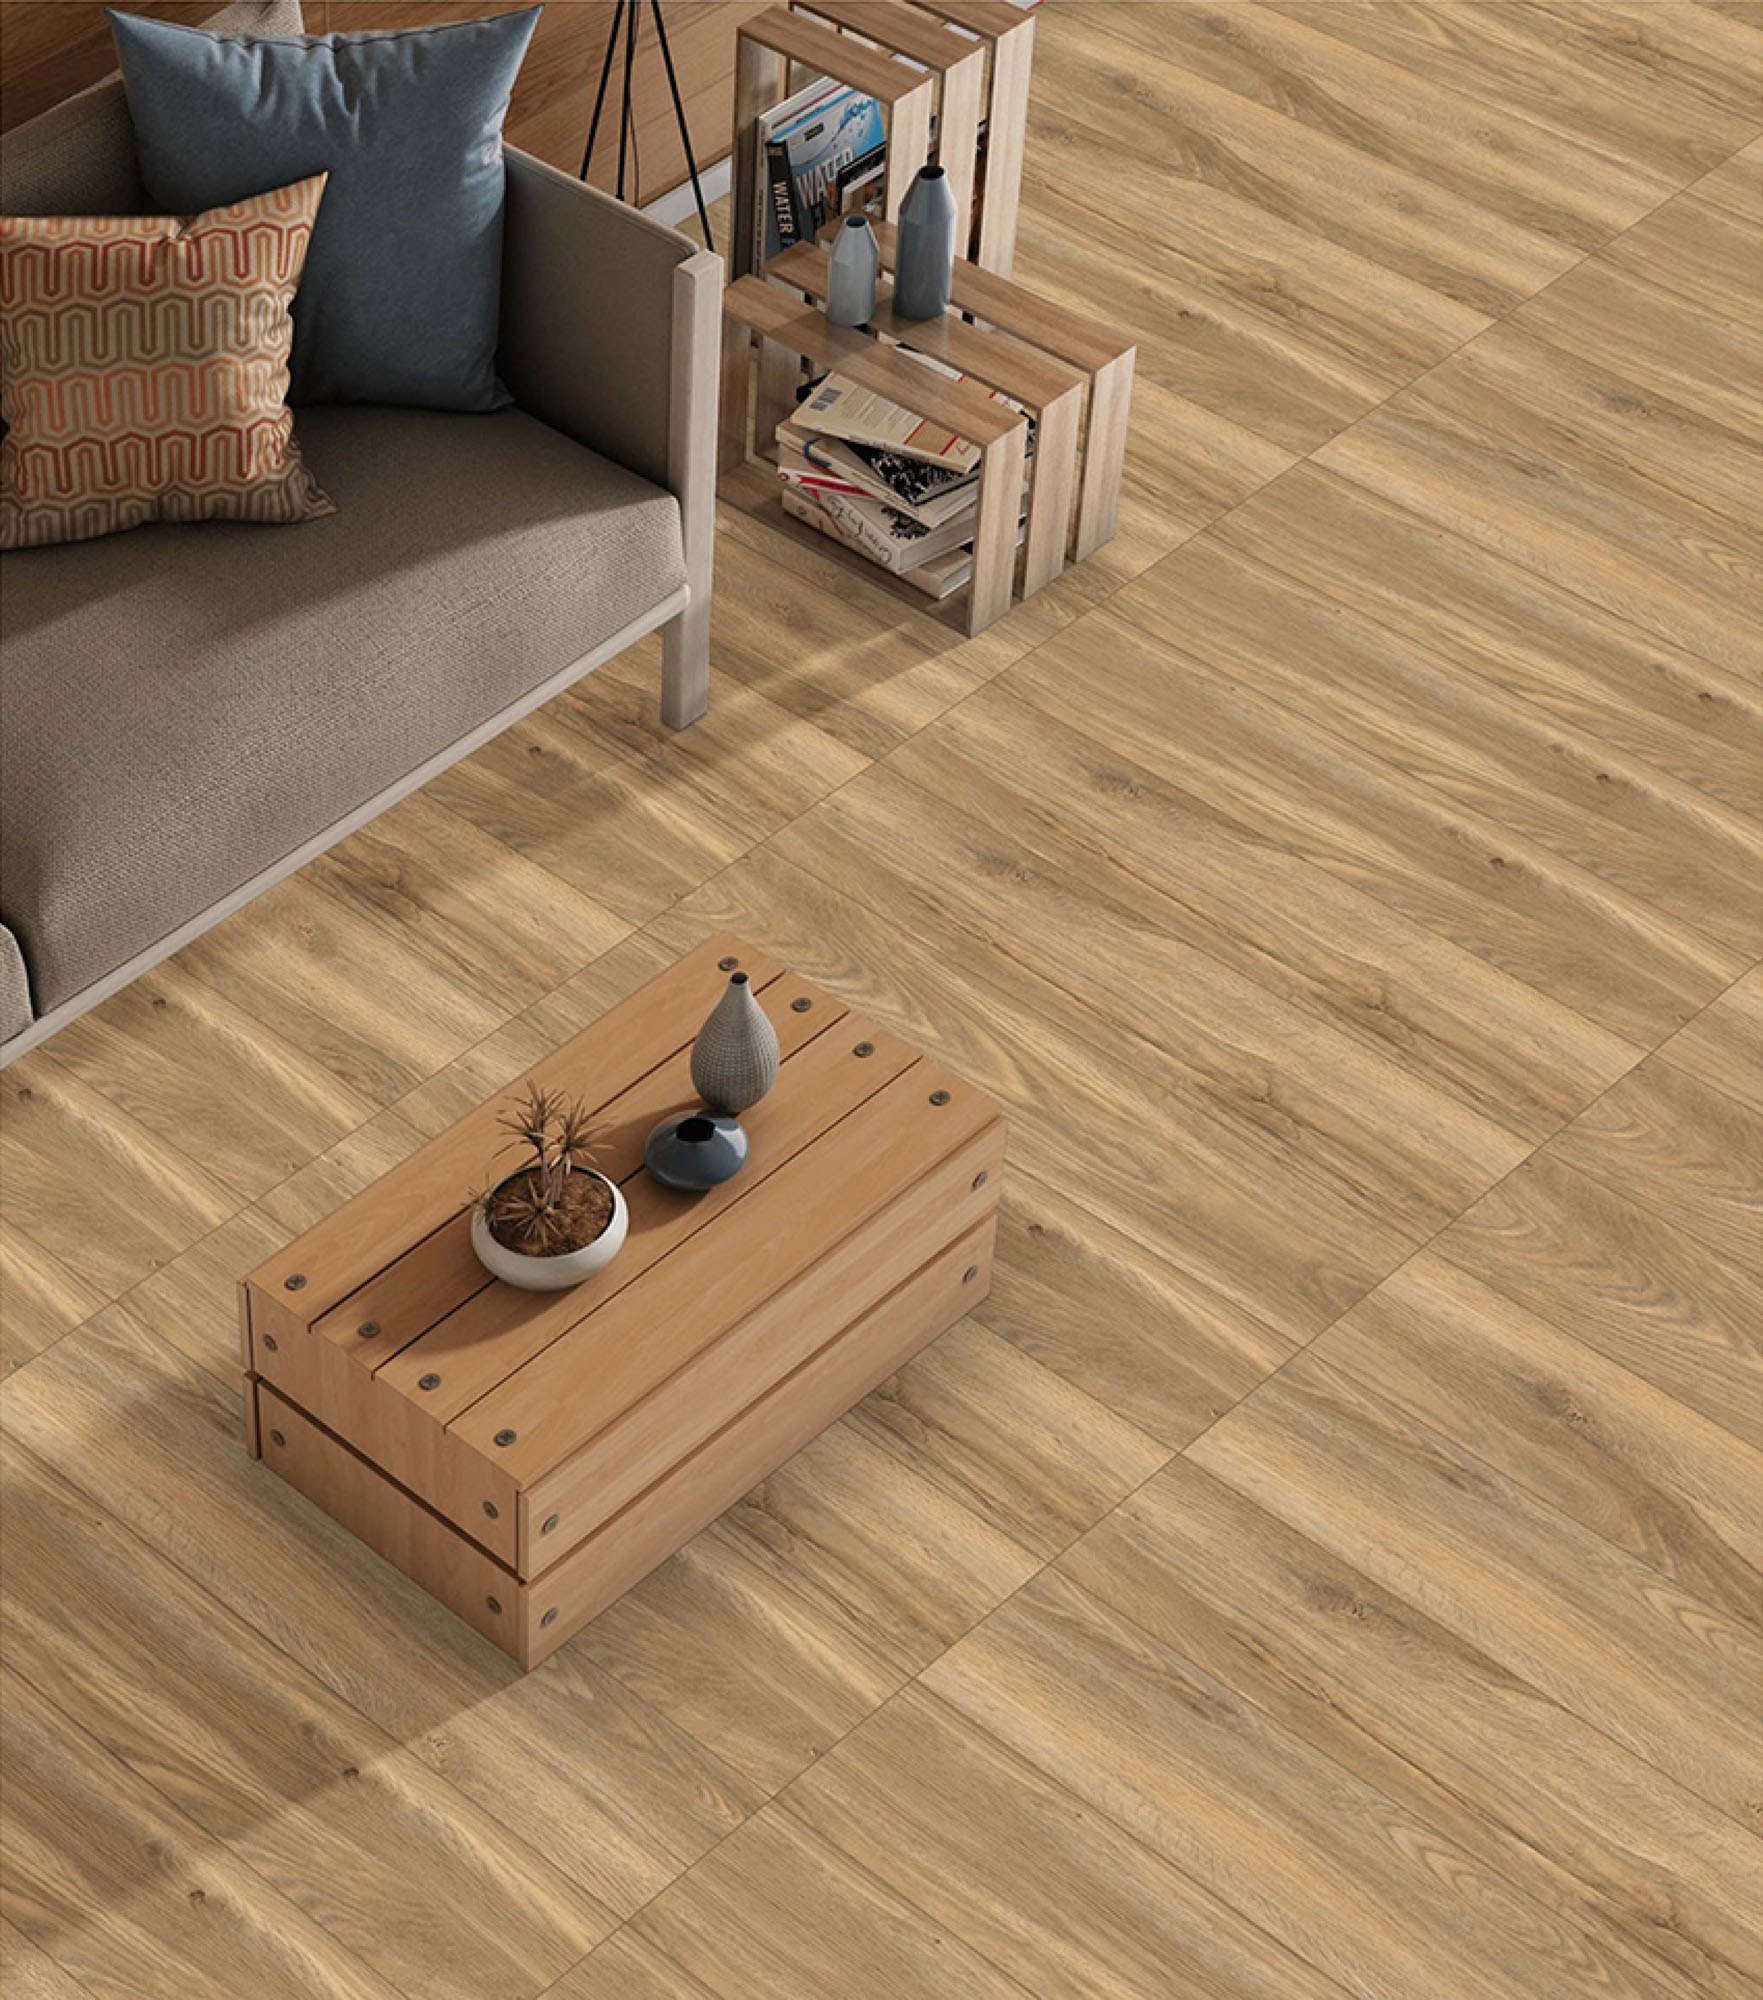
Loading designs...
A herringbone floor does something that a straight-run plank floor cannot: it creates movement in the room before a single piece of furniture is placed. The V-shape geometry pulls the eye diagonally across the floor, making the room feel larger and more dynamic than the same tiles laid end to end in parallel lines. When the tile is a wood grain plank, the grain direction reverses at every tile, which adds a second layer of texture to the pattern that plain stone or concrete-look tiles in the same layout do not produce.
Herringbone is not a new tile choice. It has been used in timber parquet floors for centuries, and the shift to wood tiles has carried the pattern into Indian homes, where real timber is impractical. Among wood tiles, herringbone is the most searched laying pattern by buyers who want a floor that looks designed rather than simply covered.
This page covers everything a buyer needs before committing to a herringbone wood tile floor: how to choose the right tile size for the room, how to calculate the tile order correctly, what to check when hiring a contractor, how grout colour changes the result, and which rooms the pattern works in and which it does not.
The herringbone pattern is built from rectangular plank tiles placed at 90 degrees to each other, both angled at 45 degrees to the room walls. One tile points to the upper right, the next tile points to the upper left, and they interlock end-to-end to form a continuous zigzag across the floor. The name comes from the resemblance to a fish spine: a central line with alternating diagonal bones on each side.
What makes this pattern work differently with wood grain tiles than with plain or stone-look tiles is the grain direction. In a straight-run floor, all the grain lines run in the same direction. In a herringbone floor, the grain switches direction at every tile. One tile's grain runs at 45 degrees to the left; the adjacent tile's grain runs at 45 degrees to the right. Seen from a standing position, this creates a chevron of texture across each V-shape that catches light differently depending on the viewing angle. The effect is most visible in rooms with raking natural light from a window on one side.
Herringbone is often confused with chevron. The technical difference is in the tile end cuts. In a herringbone floor, tile ends are cut square, and the tiles interlock at a right angle. In chevron, the tile ends are cut at a precise angle so that adjacent tiles form a continuous diagonal line at the apex of the V. Chevron requires specially cut tiles and generates more waste. Herringbone uses standard rectangular planks available from any wood tile range, which is why it is the more practical and widely available option in India.
The relationship between tile size and room size determines whether a herringbone floor looks proportionate or oversized. A tile that is too long for the room produces only two or three complete V-shapes across the width, which does not read as a herringbone pattern from inside the room. The V-shapes need to repeat across the floor to read clearly.
The 200x1200mm (8x48) plank is the boldest choice for herringbone wood tile floors and works best in rooms above 200 square feet, where the full length of the tile is visible from across the room. In a large living room or a hotel lobby floor, the wide V-shapes created by this plank size have genuine visual weight. In a standard Indian bedroom of 120 to 150 square feet, the same tile produces a pattern that fills the room but can feel heavy at the edges near the walls.
The 200x1000mm (8x40) plank is the most versatile size for herringbone wood-effect floor tiles in Indian homes. It works in bedrooms from 80 square feet upward, in dining areas, and in living rooms without feeling either too tight or too sparse. The V-shapes are proportionate in a standard-ceiling room, and the tile cuts at the perimeter are manageable without excessive waste.
For bathrooms and small rooms below 80 square feet, a shorter plank in 150x600mm or 100x400mm format creates a tighter herringbone where several complete V-shapes fit across the room width. These smaller formats are available in select wood grain ranges and are worth confirming with the supplier before finalising the design. In a compact bathroom, a tight herringbone wood-effect floor tile creates more visual detail than a straight-run floor of the same size.
| Tile Size | Alias | Best Room Size | Pattern Scale | Waste % |
| 200x1200mm | 8x48 | 200 sq. ft. and above | Large, bold V | 13% to 15% |
| 200x1000mm | 8x40 | 80 to 200 sq.ft | Proportionate | 12% to 14% |
| 150x600mm | 6x24 | Below 80 sq.ft | Tight, dense | 12% |
| 100x400mm | 4x16 | Feature wall, accent strips | Fine, intricate | 12% |
Herringbone is an unforgiving pattern when it comes to tile quantity. The diagonal orientation means that every tile along the perimeter of the room needs to be cut at an angle, and every cut produces a triangular offcut that cannot be used elsewhere in the floor. In a simple rectangular room, this waste runs to 12% to 13% above the floor area. In a room with alcoves, columns, built-in wardrobes, or irregular walls, the waste reaches 15%.
The correct ordering method is: measure the room area in square feet, add 15% to that number, then round up to the nearest full box quantity. If a box contains 10 square feet of tiles and the adjusted area is 143 square feet, order 15 boxes (150 square feet) rather than 14. Falling short mid-project and reordering from a different batch creates a visible colour mismatch across the herringbone floor, because wood grain tiles vary in shade between production batches.
Batch number matching is more critical in herringbone than in straight-run floors because the diagonal orientation means tiles from two different batches may end up immediately adjacent to each other rather than separated by many tiles. Ask the supplier to confirm that all boxes in the order carry the same batch number and kiln number before the delivery is accepted.
Note: Never use offcuts from herringbone perimeter cuts in a different room. The diagonal cut angles are specific to one room's layout and will not align correctly in a new installation.
The starting point of a herringbone floor determines whether the pattern sits symmetrically in the room or runs off-centre toward one wall. This is the first decision a laying contractor makes, and a wrong starting point produces a floor where the pattern looks balanced in the centre but has an asymmetric cut band along one or two walls.
The correct starting point for a herringbone wood tile floor is the centre of the room, found by snapping two chalk lines from the midpoints of opposite walls. The first tile is placed at this intersection with one edge along one chalk line, at 45 degrees. All subsequent tiles work outward from this starting tile toward the walls. A contractor who starts from a wall rather than the room centre produces a floor where the pattern is offset, with one wall having a wide cut band and the opposite wall having a narrow one.
Herringbone takes 30% to 40% longer to lay than a straight-run floor of the same area. A contractor who quotes the same labour rate for both layouts either has not done herringbone before or is planning to cut corners on the alignment process. The additional laying time adds Rs. 15 to Rs. 30 per sq.ft to the installation cost beyond the straight-run rate. This is normal and should be expected in any accurate quotation.
Before hiring a contractor for a herringbone wood look tile floor, ask to see photographs or visit a completed herringbone installation they have done. Specifically look at the perimeter cuts where the diagonal tile meets the skirting board and at the centre of the floor where the V-shapes should be symmetrical. Uneven V-angles or a visible shift in the diagonal axis halfway across the floor indicate a contractor who has not done enough herringbone work to handle a full room confidently.
Note: Tile adhesive must be used for herringbone wood tile floors, not sand-cement mortar. The precision required for herringbone alignment demands a thin-bed adhesive that allows the tile to be adjusted and levelled before setting. Sand-cement mortar sets too quickly, and the bed thickness is too variable to maintain the consistent joint lines that herringbone requires.
Grout colour is a more significant decision in a herringbone floor than in any other tile layout. In a straight-run plank floor, grout lines run in two directions, and the tile area is large relative to the joint area. In a herringbone floor, every tile is at 45 degrees, and the joint lines run in four directions simultaneously. The proportion of visible joint to visible tile is higher in herringbone, which means the grout colour has more influence over the finished appearance of the floor.
A grout that closely matches the tile colour makes the joint lines recede into the tile surface. The herringbone geometry is still visible through the grain direction change at each joint, but the floor reads as a continuous material with movement in it rather than a grid of individual tiles. This is generally the more sophisticated result and is more forgiving of minor joint width inconsistencies during laying.
A grout colour that contrasts with the tile, such as a charcoal grout with a light grey wood grain tile, makes every joint line highly visible. The herringbone geometry becomes the primary visual, and the wood grain becomes secondary. This is a valid design choice when the geometric pattern is the intended focal point of the room, but it amplifies any laying errors because inconsistent joint widths are immediately visible against a contrasting grout.
In all cases, use epoxy grout for herringbone wood tile floors. The higher joint-line density in herringbone compared to straight-run means more total grout in the floor, and cement-based grout in a high joint-density floor absorbs more cleaning water over time. Epoxy grout keeps its colour consistently and does not soften or crack at joints.
| Tile Colour | Matching Grout | Contrasting Grout | Visual Effect |
| Grey wood grain | Light grey epoxy grout | Charcoal or white grout | Match: grain reads continuous; contrast: V-geometry dominates |
| Light beige grain | Ivory or beige epoxy grout | Brown or grey grout | Match: warm, cohesive; contrast: structured, graphic |
| Dark walnut grain | Brown or dark grey grout | Cream or light grey grout | Match: rich, deep floor; contrast: bold geometric overlay |
| White bleached grain | White epoxy grout | Light grey grout | Match: seamless, minimal; contrast: subtle grid on pale surface |
The herringbone pattern has a minimum room width requirement to read properly. For a standard 200x1000mm (8x40) plank at 45 degrees, the diagonal dimension across the tile is approximately 1,020mm. A room needs to be at least 2 metres wide to show two complete V-shapes across the width. Below this width, the perimeter cuts on both sides consume so much tile that the V-pattern barely reads.
Living rooms are the strongest room for herringbone wood effect floor tiles in Indian homes. The floor area is large enough to show the full pattern, the room is viewed from multiple angles, including from a raised position if there is a mezzanine or staircase, and the floor is a primary design surface that guests see immediately on entry. A grey or dark wood grain herringbone floor in a living room with light-coloured walls is one of the most commonly executed contemporary floor designs in Indian homes right now.
Bedrooms work well for herringbone, particularly when the floor is visible from the doorway across the full length of the room. The entry view shows the full V-pattern sweeping away from the viewer, which creates a strong sense of depth and scale that a straight-run floor does not produce from the same angle.
Narrow corridors are the worst application for herringbone. A corridor below 1.2 metres wide does not have enough width to show complete V-shapes across its narrowest dimension. The diagonal tile cuts at both walls generate waste approaching 20%, and the finished floor looks like a series of diagonal cuts rather than a coherent pattern. An offset brick or straight-run plank is always the better choice for Indian corridor spaces.
| Room | Herringbone Suitability | Best Tile Size | Reason |
| Living room | Excellent | 8x48 or 8x40 | Large visible floor area shows the full V-pattern |
| Master bedroom | Excellent | 8x40 | Pattern visible from the doorway and from the bed |
| Dining area | Good | 8x40 or 8x48 | The open floor under the dining table shows a pattern well |
| Bathroom | Good (with GHR finish) | 8x40 | Adds detail in a small space; GHR finish is mandatory on the floor |
| Narrow corridor (below 1.2m wide) | Not suitable | Any | Too narrow to show V-shapes; high waste at both walls |
| Feature wall (bedroom, living room) | Excellent | 8x40 or smaller | Herringbone on one wall creates a strong accent in any room size |
A herringbone wood grain tile on a single feature wall creates more visual interest than the same tile laid in a straight horizontal pattern. The geometry adds depth and movement to a vertical surface that plain horizontal planks do not have. On a bedroom feature wall behind the bed, or on the wall at the end of a dining room, a herringbone wood look tile in a dark walnut or grey grain makes a strong statement without requiring any other decorative element.
For wall installations, the tile size needs to be smaller than for floors. The 200x1000mm (8x40) plank is the largest practical size for a wall herringbone because larger tiles on a vertical surface require mechanical fixing clips during adhesive curing to prevent slippage. Smaller formats in 100x400mm (4x16) or 75x300mm create an intricate, fine-scale herringbone pattern that suits smaller wall areas such as a bathroom niche, a kitchen backsplash section, or an alcove.
On walls, the V-point of the herringbone can face either upward or downward. V-point up creates an ascending chevron that gives the wall a dynamic, rising energy. V-point down is calmer and more grounded. Most wall herringbone installations in Indian homes use V-point up. The choice is entirely aesthetic and does not affect the tile specification or the fixing method.
PGVT Polished Glossy finish in a herringbone pattern on a wall amplifies the geometric effect because the polished surface reflects the light at different angles across the alternating grain directions. This makes the V-shape visually stronger in a polished finish on a wall than in a matte finish on the same surface.
Herringbone is occasionally requested for covered balcony floors and covered patio areas. The pattern works outdoors under the same geometric rules that apply indoors, but the tile specification changes entirely. For any outdoor herringbone, full-body vitrified tiles with GHR finish are the minimum requirement, and the drainage slope of 1:100 must be maintained across the entire diagonal tile layout, which adds complexity to the screed preparation.
The full specification for outdoor wood look tiles, including covered balconies, open patios, garden paths, body type requirements, and drainage guidance, is on the wood outdoor tiles page. Any herringbone project in an outdoor zone should be read alongside that specification before work begins.
On a balcony herringbone floor, the 600x600mm (2x2) square tile in a diagonal (45-degree) layout gives a similar geometric effect to a plank herringbone with significantly easier drainage slope management. For outdoor herringbone specifically using plank tiles, the 200x1000mm (8x40) size is more practical than the 8x48 because the shorter tile is easier to maintain level across the drainage slope.
Herringbone wood tile floors are seeing the strongest adoption in urban Indian apartments in Mumbai, Pune, Bengaluru, and Ahmedabad, where open-plan living rooms and master bedrooms in premium residential projects specify the pattern as a standard feature. GVT matte plank tiles in 8x40 and 8x48 sizes, manufactured in Morbi, Gujarat, are the primary source for these installations. Most herringbone wood tile floors in Indian projects use tiles from the Rs. 65 to Rs. 100 per sq ft GVT range, where the grain quality and dimensional consistency are sufficient to maintain tight, even joint lines across a large floor area. Dimensional consistency is particularly important in herringbone because any size variation between tiles accumulates across the diagonal layout and becomes visible as a gradual shift in the V-angle by the time the floor reaches the far wall.
Standard herringbone is more sensitive to tile dimensional variation than straight-run laying. When plank tiles are laid parallel, a 0.5mm size difference between tiles creates a grout joint that is 0.5mm wider on one side than the other. In herringbone, the same 0.5mm variation is amplified across the diagonal because the deviation accumulates at 45 degrees across adjacent tiles. Over a 4-metre floor, a consistent 0.5mm size variation between tiles can produce a visible diagonal drift in the V-angle by the far wall. Rectified GVT wood grain tiles, cut to a precise dimension after firing, reduce this variation to within 0.2mm and are the correct specification for herringbone wood tile flooring in India. Confirm with the supplier that the tiles are rectified before ordering. Prices for rectified GVT plank tiles in India start from Rs. 65 per sq.ft.
Rectified GVT plank tiles in 8x40 and 8x48 sizes across grey, dark, light, and white wood grain tones suitable for herringbone floors and feature walls are listed on TilesFinders with tile body, finish grade, dimensional tolerance, and size alias on every product card. Use the size filter to narrow to plank formats and the finish filter to select matte for floor use or polished for wall feature applications.
A herringbone wood tile pattern is a floor or wall layout where rectangular plank tiles are set at 90 degrees to each other in a repeating V-shape. Each tile is placed at 45 degrees to the room walls, with adjacent tiles perpendicular to each other. The result is a zigzag of interlocking planks that resembles the spine of a fish, which is where the name comes from. The pattern works best with tiles that have a visible wood grain direction because the grain reverses at each tile, creating a texture and movement that a plain straight-run layout does not have.
In a herringbone pattern, the tile ends are cut square at 90 degrees and the tiles interlock at a right angle to each other. In a chevron pattern, the tile ends are cut at an angle so that when two tiles meet at the centre of the V, their cut ends form a continuous diagonal line. Chevron requires tiles cut specifically for that pattern and generates more waste than herringbone. Herringbone uses standard rectangular plank tiles with no angled cuts at the tile ends, which makes it more practical for standard plank wood tiles available in India. Most wood tile herringbone floors in India use 200x1200mm (8x48) or 200x1000mm (8x40) plank tiles.
Order 12% to 15% extra tile for a herringbone floor above the measured area. The diagonal orientation of the tiles means that every perimeter cut produces a triangular offcut that cannot be reused elsewhere in the floor. In a room with many corners, alcoves, or obstacles, the waste can reach 15%. Calculate the room area, add 15% to the total, and round up to the nearest full box quantity. Always order from a single batch number to ensure grain colour consistency across the entire floor.
Yes. Herringbone takes 30% to 40% longer to lay than a straight-run plank floor of the same size. The contractor must set a precise 45-degree starting angle, check alignment constantly as the pattern progresses across the room, and cut every perimeter tile at a diagonal. A herringbone floor laid by a contractor who is unfamiliar with the pattern often shows misaligned joints, inconsistent V-angles, or a visibly off-centre starting point. Before hiring, ask to see a completed herringbone floor the contractor has laid. The extra laying time typically adds Rs. 15 to Rs. 30 per sq.ft to the installation cost over a straight-run floor.
The 200x1200mm (8x48) plank gives the most dramatic herringbone look in large rooms above 200 square feet. The long plank creates wide, bold V-shapes that read strongly from a distance. In rooms between 80 and 150 square feet, the 200x1000mm (8x40) plank gives a more proportionate herringbone that does not feel oversized for the room. In very small rooms below 80 square feet, a 150x600mm or similar shorter plank, where available, creates a tighter, denser herringbone pattern that suits the scale of the space. Using a very long plank in a very small room produces only two or three complete V-shapes across the floor, which does not read as a herringbone from inside the room.
Grout colour has a strong effect on how a herringbone floor reads. A grout colour that closely matches the tile creates a continuous surface where the grain flows across joints and the V-shape is defined by the grain direction rather than the joint lines. This gives a calmer, more sophisticated result. A contrasting darker grout emphasises every joint line and makes the herringbone geometry the dominant visual, with the grain secondary. Both are valid choices. For a first herringbone floor, a close-matching grout is the safer option because it is more forgiving of minor joint inconsistencies during laying.
Yes. Herringbone wood-look tiles on walls work well as a feature wall in a bedroom, a kitchen backsplash, or a bathroom accent wall. On walls, the tile weight limits the practical size to 200x1000mm (8x40) or smaller. Larger plank tiles on a vertical surface require mechanical clips during adhesive curing to prevent slippage before the adhesive sets. Wall herringbone is laid with the V-point facing upward or downward, depending on the design intent. GVT matte or PGVT polished finishes are both suitable for herringbone wood wall tiles, depending on the room.
Living rooms, master bedrooms, and dining areas are the rooms where herringbone wood tile floors read best. These are spaces where the floor is visible from a distance, and the full pattern can be appreciated. Narrow corridors below 1.2 metres wide are the worst rooms for herringbone because the room is too narrow to show more than one or two V-shapes across the width, and the diagonal cuts at both walls consume a high proportion of the tile as waste. Square rooms with no dominant direction work particularly well with herringbone because the diagonal pattern creates movement in a room that straight-run tiles leave flat.